Overview
The Digital Asset Library (DAM) App allows users to upload, organize, and manage media assets—including images, videos, and audio—for use across various messaging channels like WhatsApp, RCS, and Truecaller. It ensures each asset meets the unique requirements of each platform, streamlines asset management, and provides quick access to media for messaging campaigns.
DAM is essential for maintaining compliance with each channel’s specific regulations and guidelines. Since each platform has distinct standards for media formats, file sizes, and content policies, adhering to these is critical to prevent message delivery issues or penalties. By centralizing media management, the app ensures that all assets are automatically optimized to meet these standards, reducing compliance risks and enabling seamless, efficient campaign execution across multiple channels.
Key Benefits of DAM:
Centralized Asset Management: Stores all files at one location, making searching and retrieving a desired file easy.
Access Control: Manages permissions so users can securely access, upload, edit, or share assets based on their roles and requirements.
Asset Distribution: Enables authorized personnel to download or upload media files across channels such as WhatsApp, Truecaller, and RCS.
Media Types Supported
Images: High-resolution images to add visual appeal to messages. The image size should be less than 100MB and the accepted formats are .jpg, .jpeg, .png, and .gif.
Videos: Short videos that enhance storytelling and engagement. The video size should be less than 16MB and the accepted format is .mp4.
Audio Clips: Audio messages or sound clips to deliver information verbally. The audio size should be less than 5MB and the accepted format is .mp3.
Documents: PDFs for users to download directly from the message. The document size should be less than 5MB and the accepted format is .pdf.
Wisely offers two ways to add your media. These are
Create a Folder and Upload Media
Required Roles
Admin/Super Admin
To create a folder and upload media,
Log into the Wisely platform with valid credentials.
Navigate to Apps from the left menu bar.
Under My Apps, click the Digital Asset Manager app.
You will be redirected to the DAM home page.
Note
Subscribe to Digital Asset Manager if not subscribed. The app will appear under My Apps, once it is subscribed successfully.
Click the +Create Folder at the top right corner.
Enter a name for the folder and click Next.
The upload media page opens.In the Media Name field, enter a name.
In the Asset Type field, select your desired asset from the drop-down menu.
In the Tags field, enter tags like promo, messaging etc.
Drag and drop or browse your media and upload it to the platform.
Once the media is uploaded, the Create Presets button is enabled on the right side of the screen. This option allows you to associate your uploaded media to channels like WhatsApp, Truecaller, and RCS.On the right side, click Create Preset and select a channel from the dropdown menu to which you want to associate the media. Once the media is associated with a channel, it will be displayed under the media tab of the corresponding channel.
Click Save at the bottom.
Your media will be saved in a folder structure. In addition to the existing media, you can add new media to the folder you created previously.

Upload Media
Permissions Required
Admin/Super Admin
To create a folder and upload media,
Login to the Wisely platform with valid credentials.
Navigate to Apps from the left menu bar.
Under My Apps, click the Digital Asset Manager app.
You will be redirected to the DAM home page.
Note
Subscribe to Digital Asset Manager if not subscribed. The app will appear under My Apps, once it is subscribed successfully.
Click +Upload Media to store the media.
The upload media page opens.In the Media Name field, enter a name.
In the Asset Type field, select your desired asset from the drop-down menu.
In the Tags field, enter tags like promo, messaging etc.
Drag and drop or browse your media and upload it to the platform.
Once the media is uploaded, the Create Presets button is enabled on the right side of the screen. This option allows you to associate your uploaded media to channels like WhatsApp, Truecaller, and RCS.On the right side, click Create Preset and select a channel from the dropdown menu to which you want to associate the media. Once the media is associated with a channel, it will be displayed under the media tab of the corresponding channel.
Click Save at the bottom.
Your media will be saved on the home page without any folder structure.
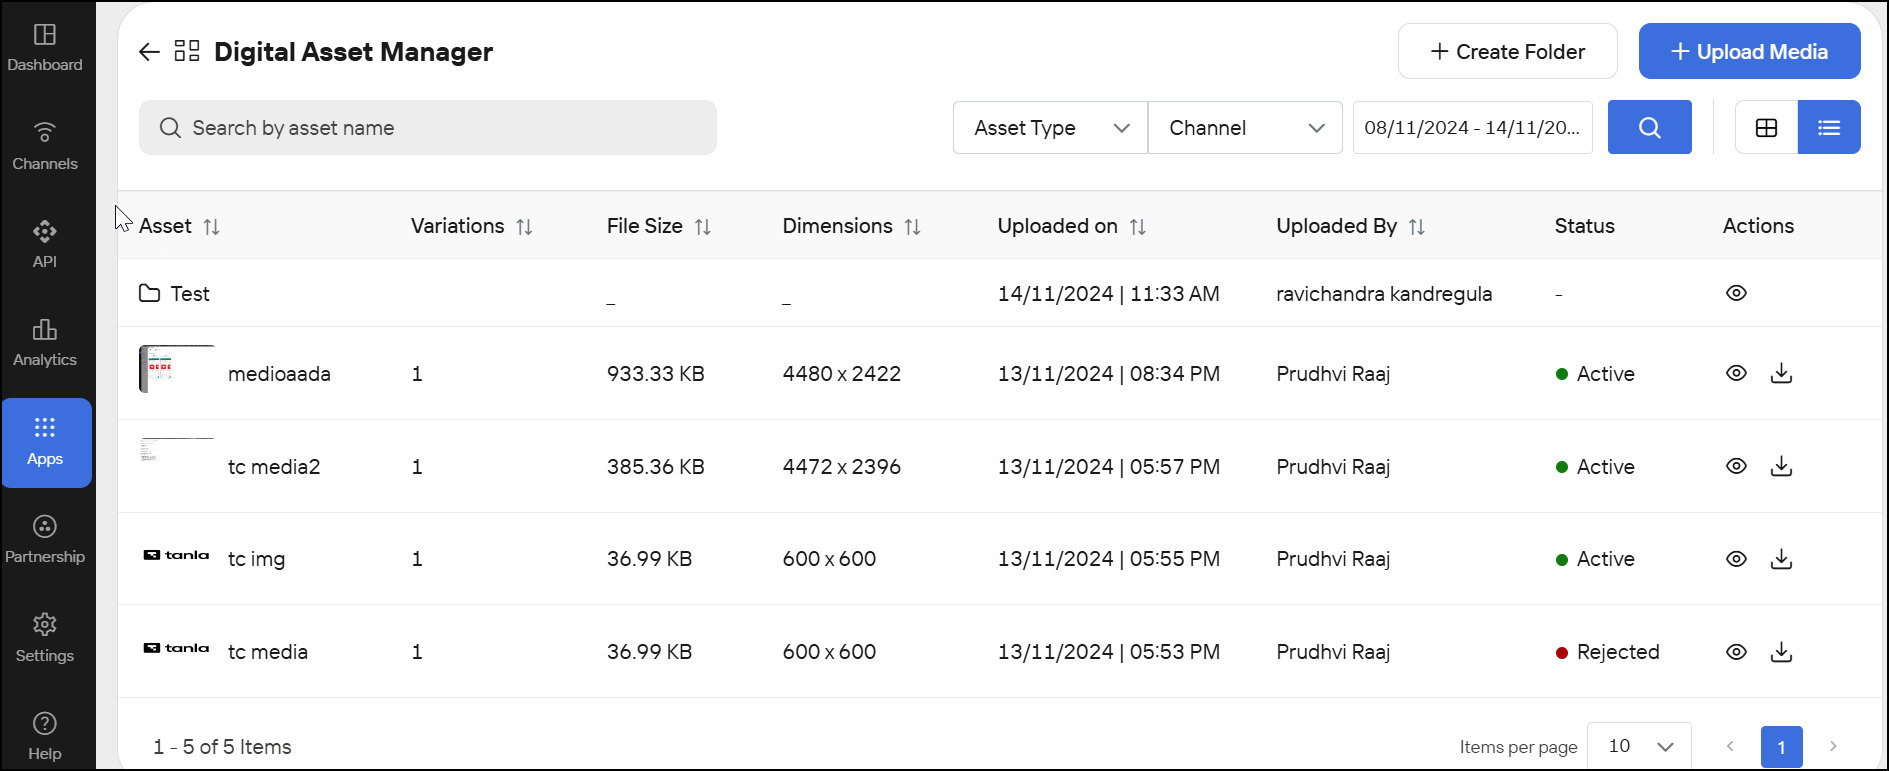
Filter Assets
You can filter the uploaded assets on the DAM home page using the following filters:
By Date: Select the date range, click apply, and then, click the search button. The maximum number of days allowed is 30.
By Asset Type: Select an asset type, such as an image, video, document, or audio, from the drop-down menu and click the search button.
By Channel Type: Select a channel like WhatsApp, Truecaller, and RCS from the drop-down menu and click the search button.
Manage Assets
Wisely allows you to view the details of uploaded assets, such as the asset ID, the channels to which the assets are linked, the specific channel media ID, a common media ID, and a media URL, on the Digital Asset Manager's home page. You can also download the uploaded media that was previously used in the Digital Asset Manager UI.